The final bit of the animation used similar principles to the "flying parts" section. Before the bulk of the undercarriage flew in, all the other sections spread out to make room for the model. Luckily, because the sections would move back into the exact same positions after, I keyframed them moving outward: which created 2 keys (1 for the starting point, and another for the finishing point where they're mode spread out) and simple duplicated the first key (Click and drag whilst holding shift). This meant that they move out, then move back in to the same starting space. Of course, I also needed to duplicate the second frame, to create a "pause" after the pieces spread. So the keyframes were:
1. Starting Point
2. End point (Pieces move out)
3. End point (Pieces stay out)
4. Starting Point (Pieces move back in)

 From this bit, all I needed to do was bring the bulk of the undercarriage up from below (using the same process outlined in Part C). The only difference this time was that it worked better if the undercarriage "overshot" and flew too high before going back down into its correct position. It looked better and allowed me to "throw" SteamBot into the air. Another key thing about animaiton is ENERGY. I could have just had the undercarriage lift and push SteamBot into position... but throwing him in the air packs a lot more of a visual impact.
 The final step of the animation (So far at least...) was the have the train tracks fly in. I'll give you 3 guesses how I went about doing that one!
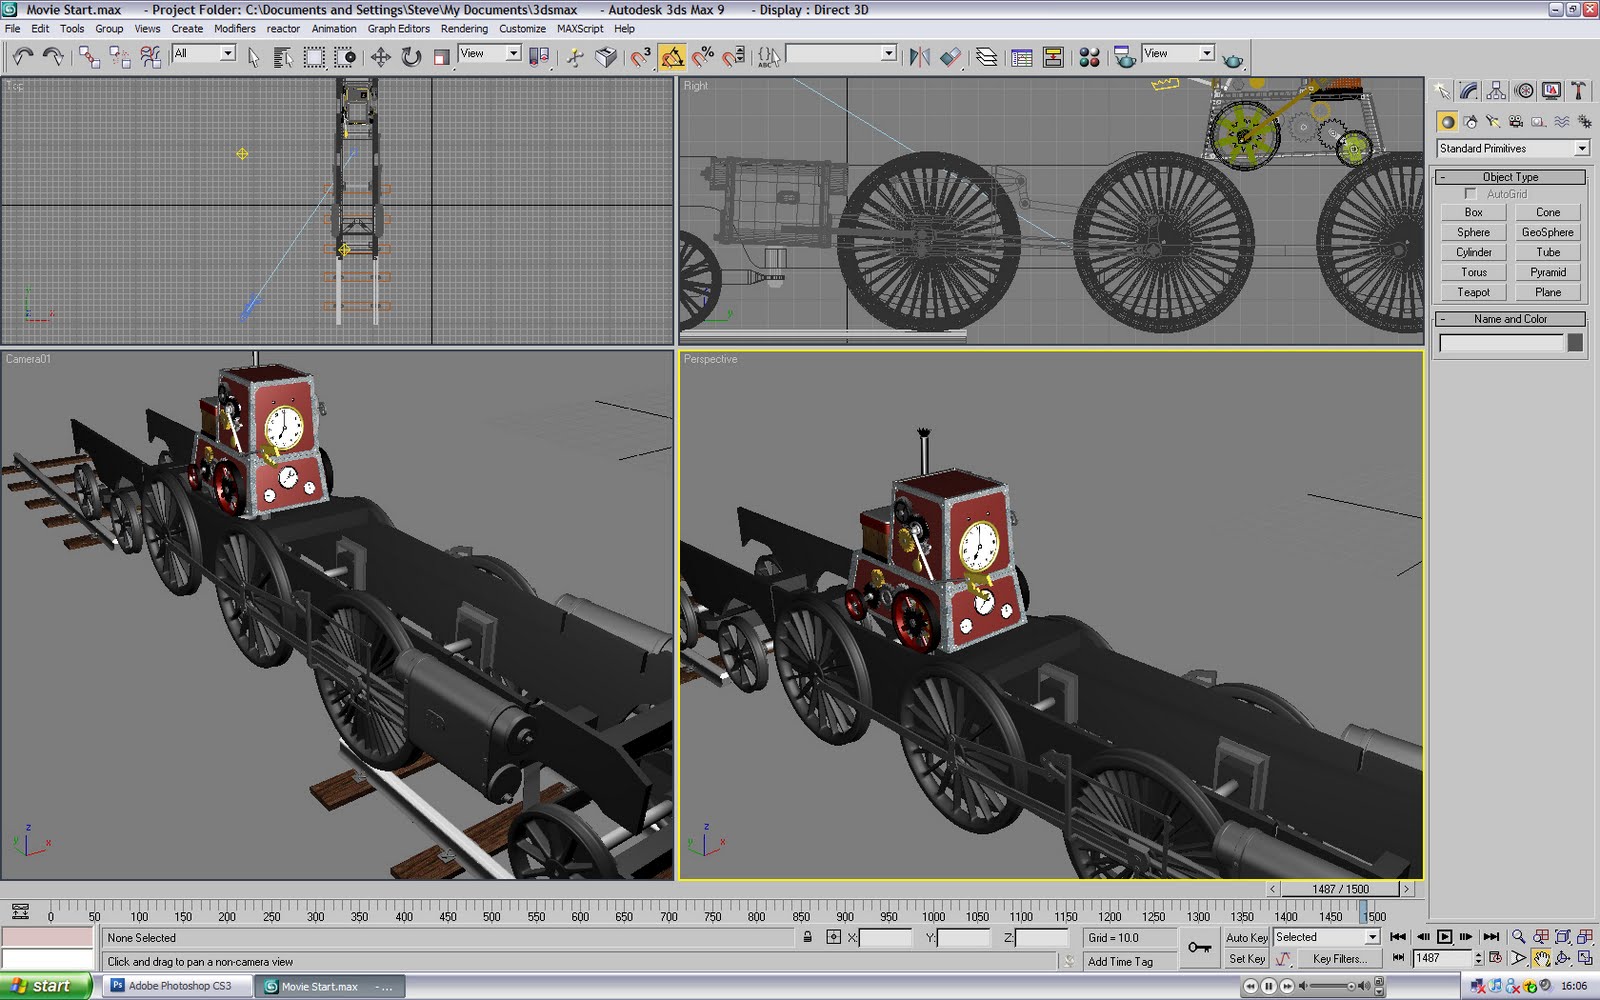 And there we have it! The details and tricks used to make the beginning of the animation. Hope some of the tips are useful!
No comments:
Post a Comment